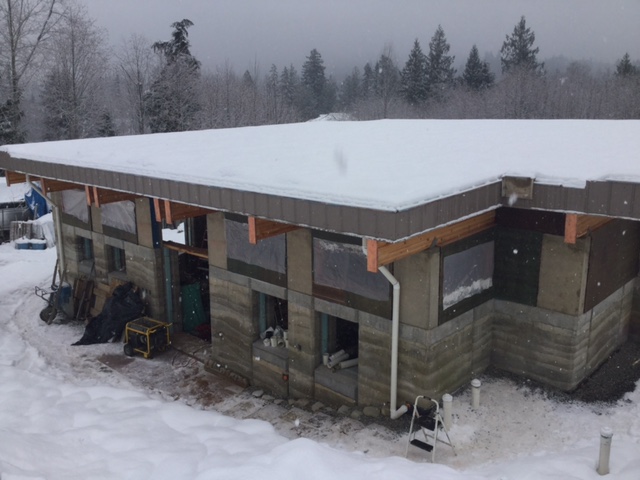
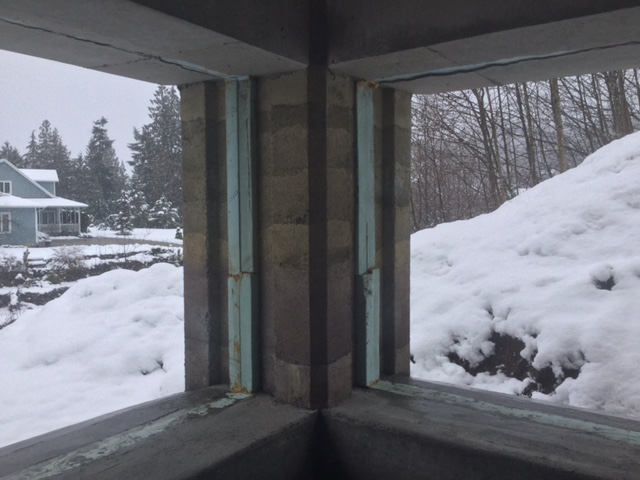
I had quite a bit of advice on how to frame for the upper windows and lower. In the end, I did it my own way. Obstacles I had to overcome were complicated by Rammed Earth Walls a 1/2 inch or so out of line due to shifting of forms while compacting. I had to get a few windows a inch or 1/2 an inch shorter/wider than planned. But overall, I was happy with the end result. Took weeks figuring out how many windows to put in. I decided on 28 windows. 10 in the Rammed Earth and 18 in the Framing.
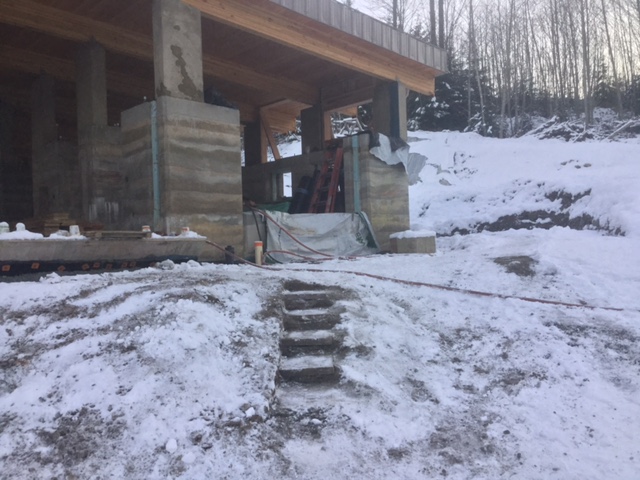
Need to get windows in. It’s cold outside!
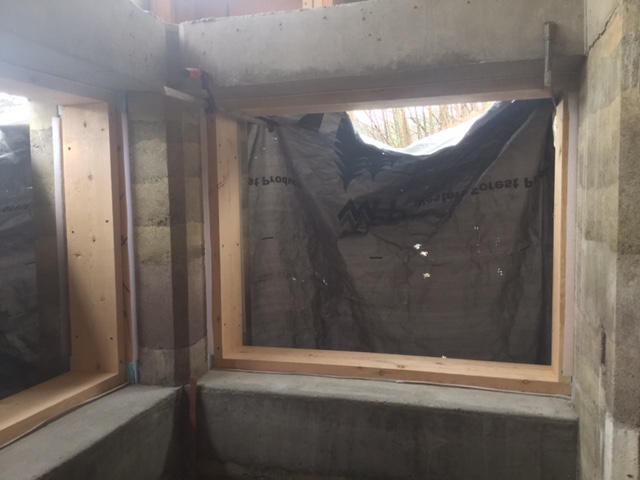
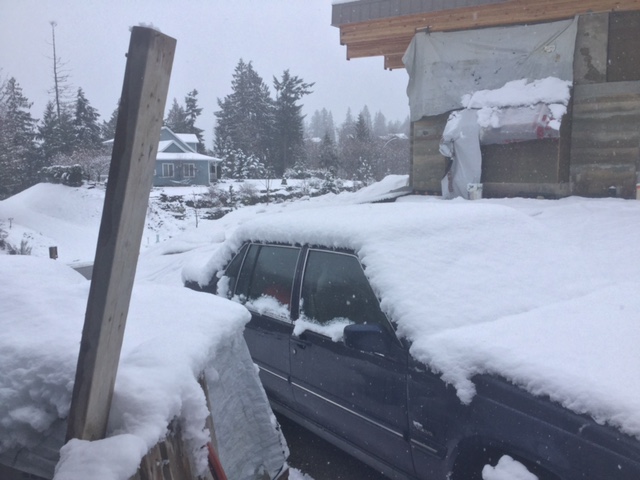
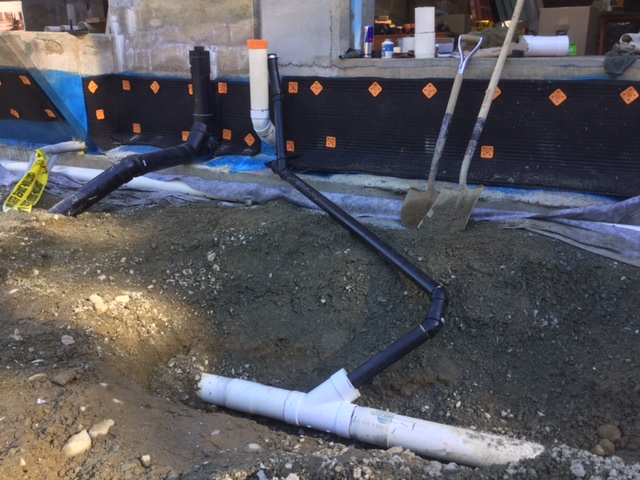
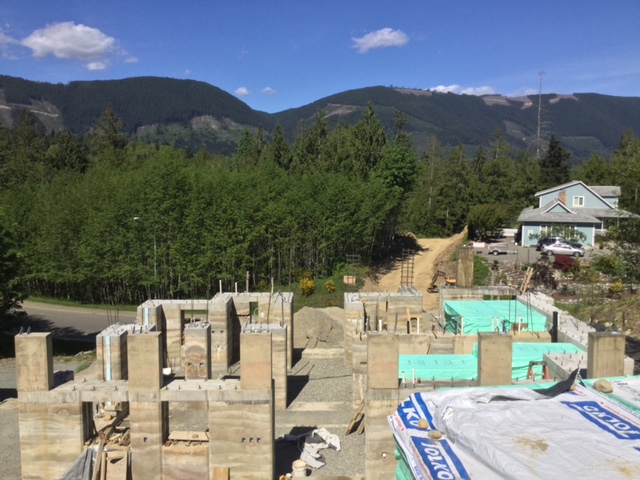
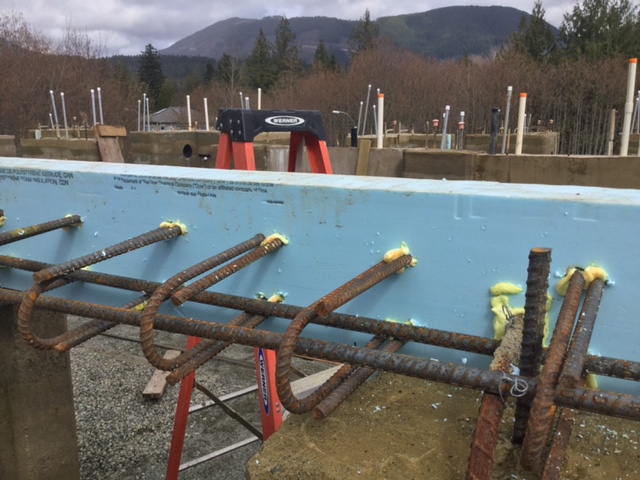
These windows receive the most rain besides the patio. Have to make sure I flash these right.

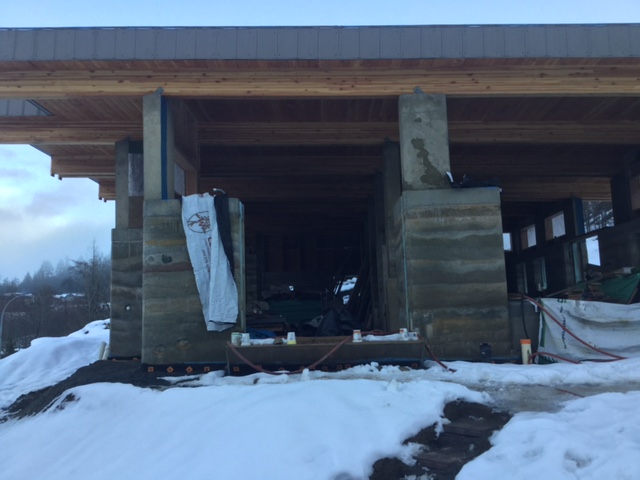
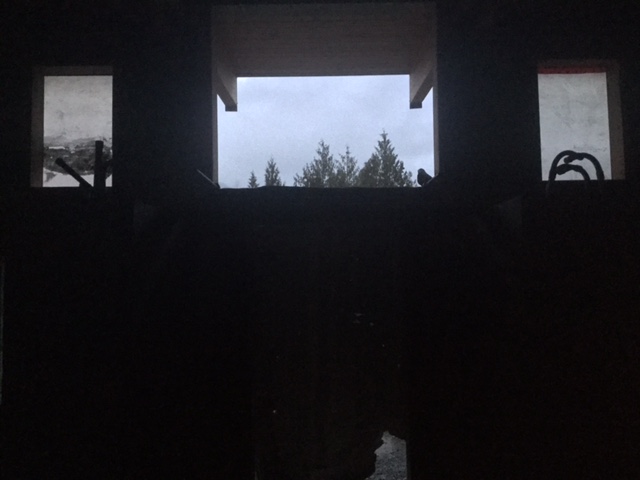
Decided against a 7 foot door so I could have a big Sky Window.
Planning what size of window to put in this space. Hopefully a big window.

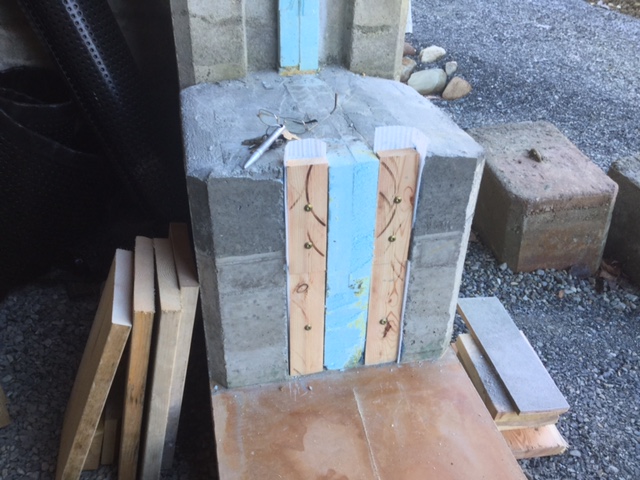
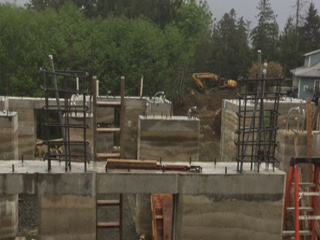
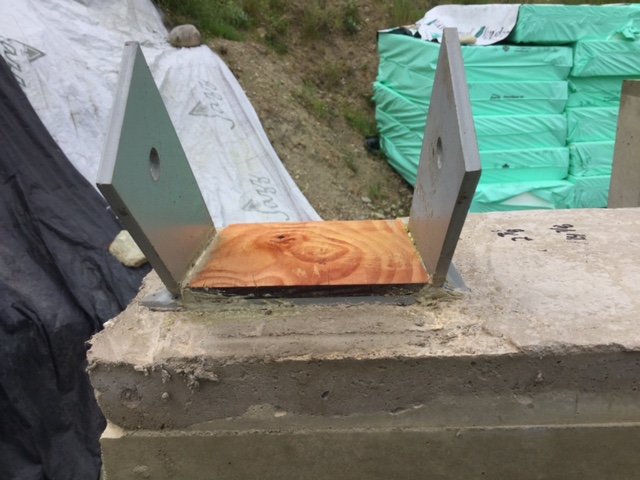
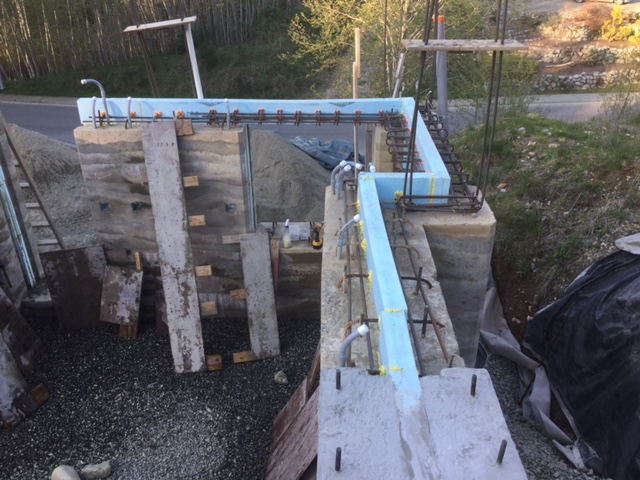
Decided to use wall keyways to help with framing for patio door.
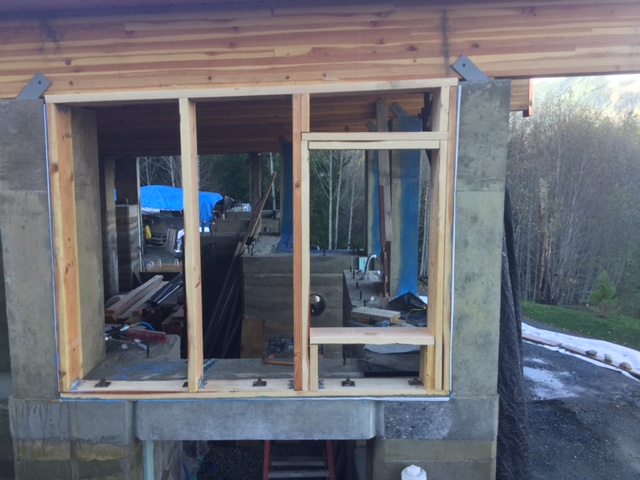
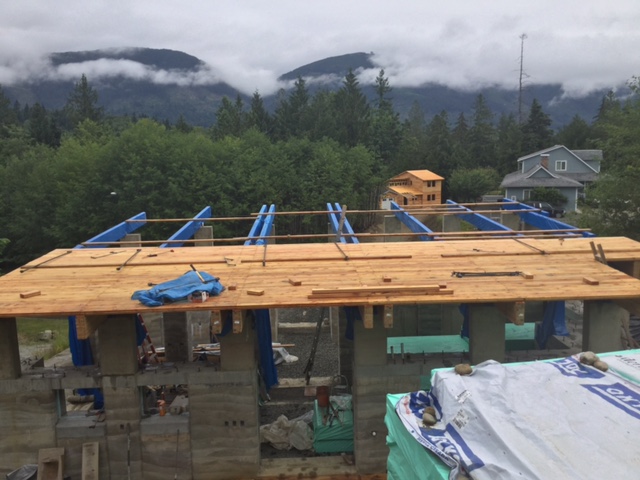
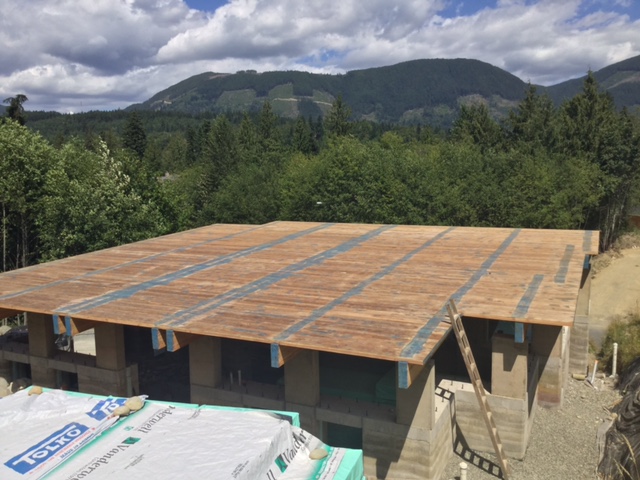
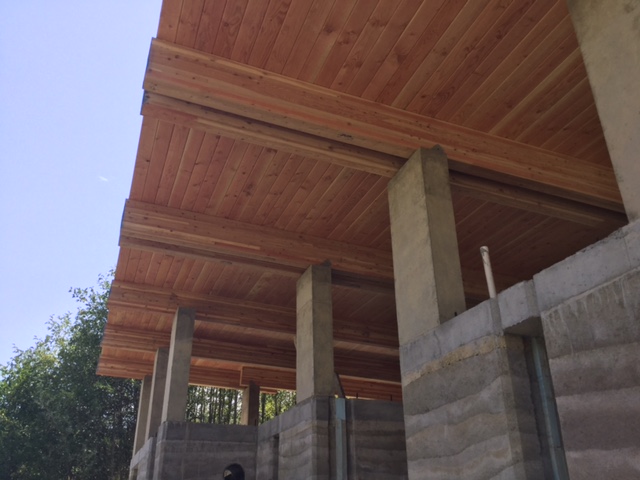
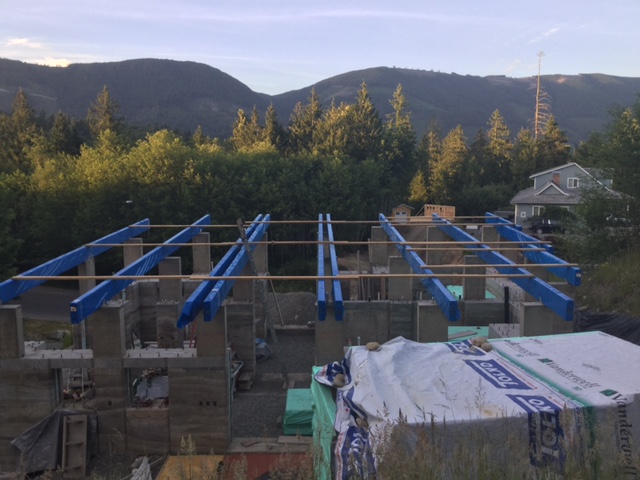
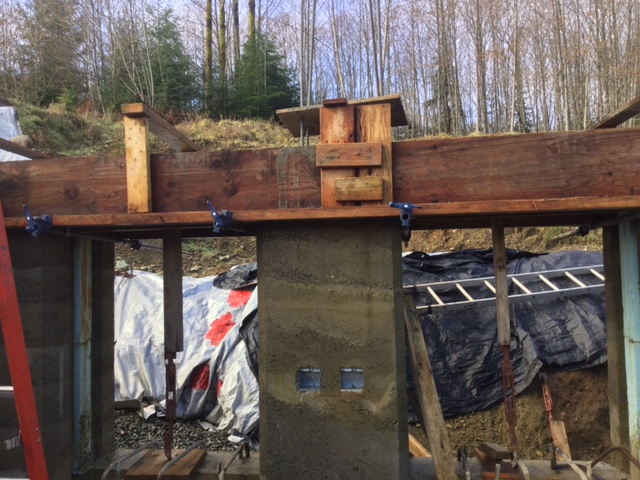
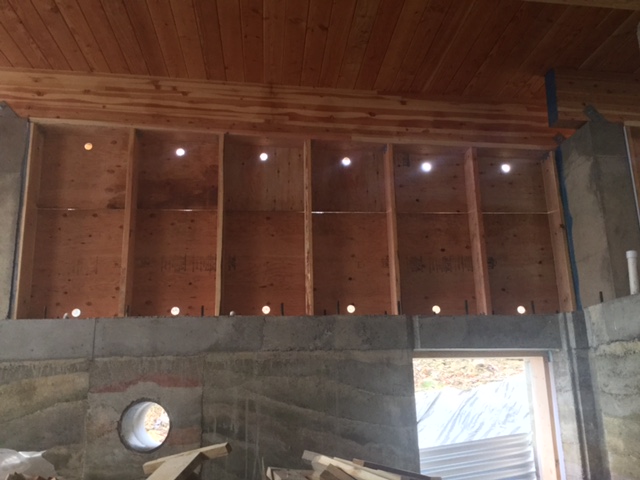
No window header needed here with that giant beam on top.
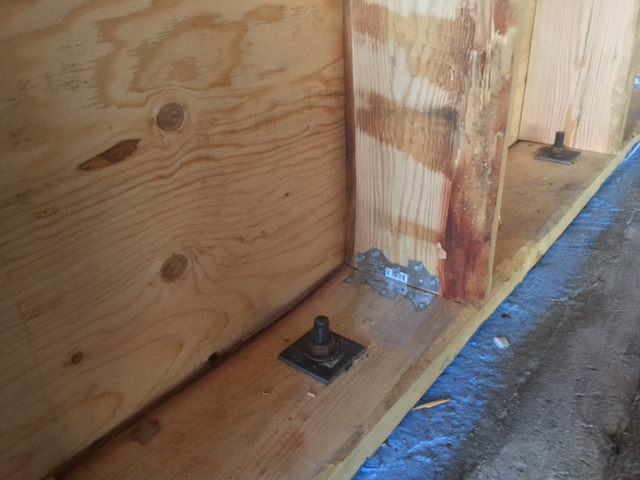
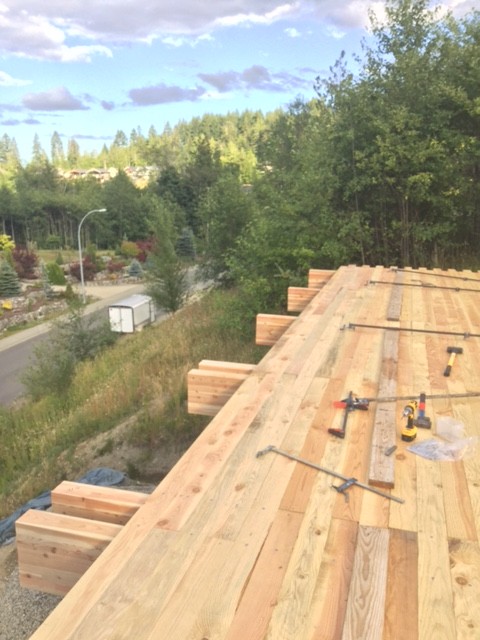
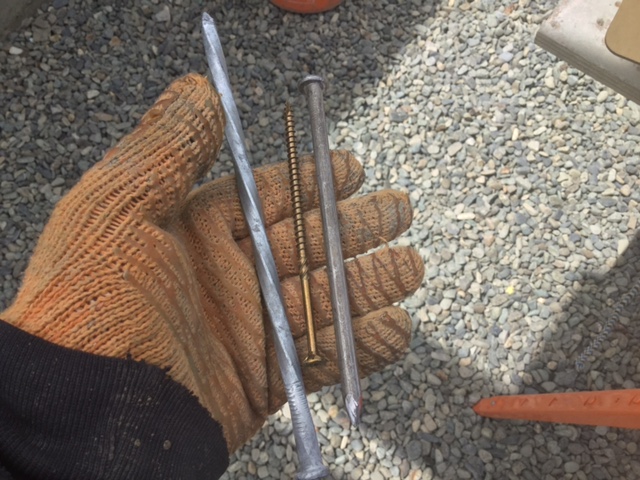
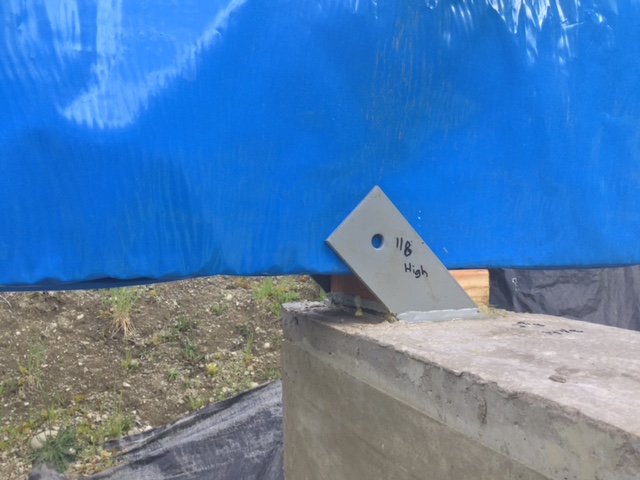
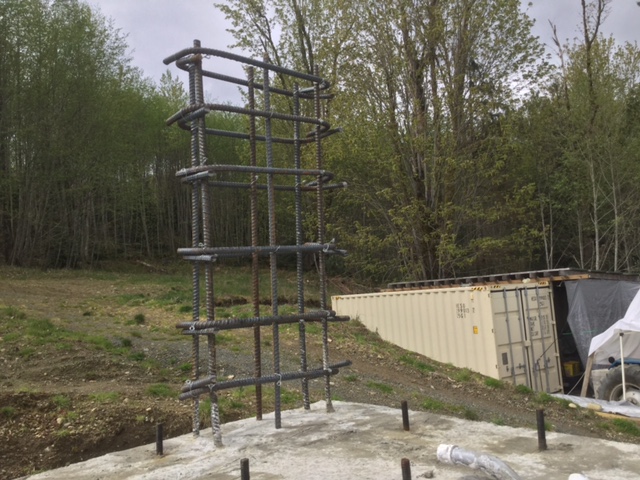
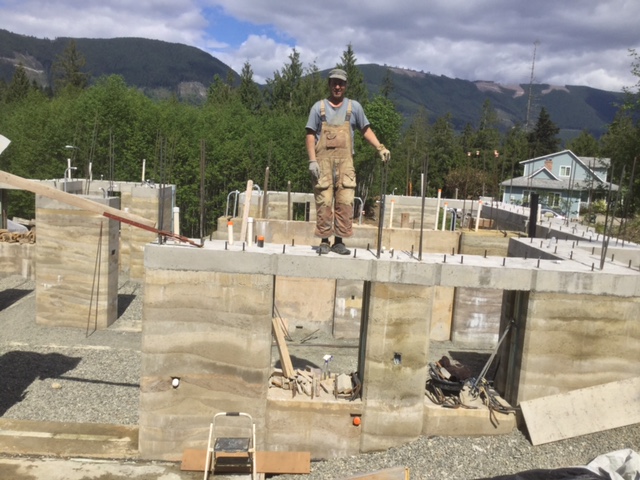
I’m the only builder I know of in these parts using earth quake strong materials. I spaced my framing bolts every 18 inches. Most builders do it at 4 feet.

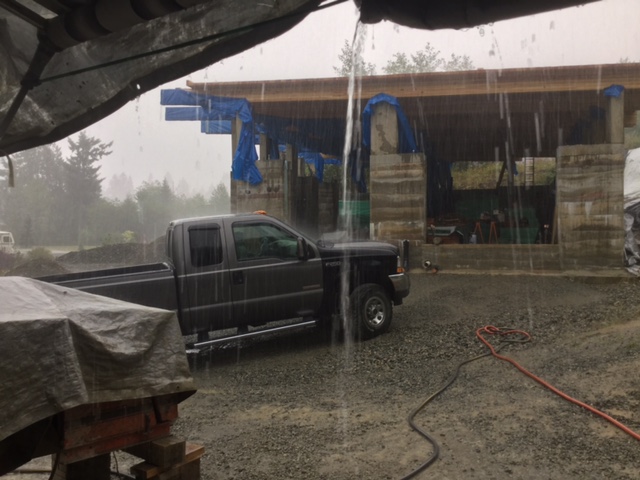
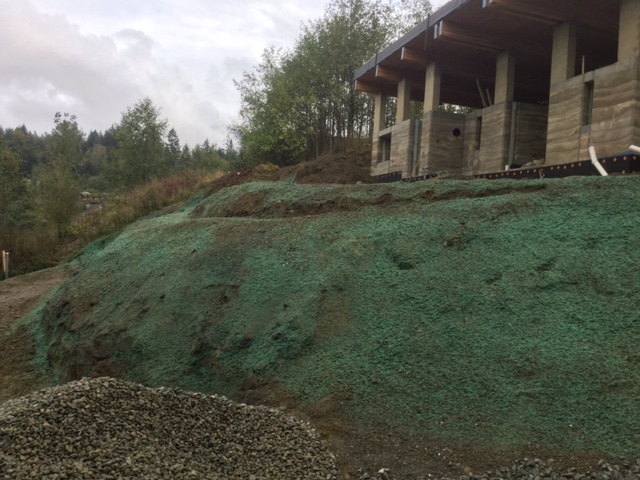
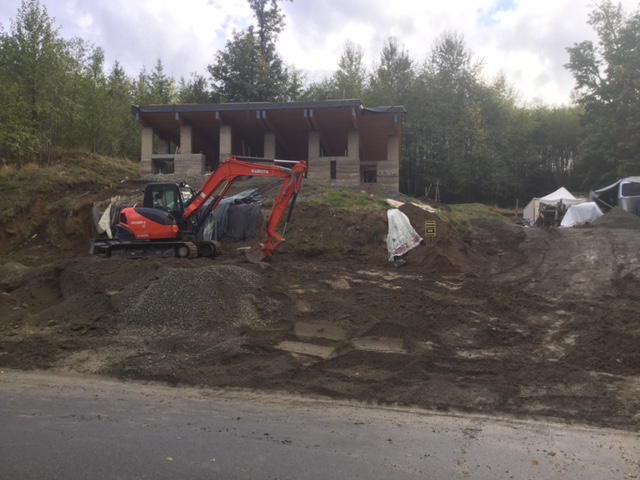
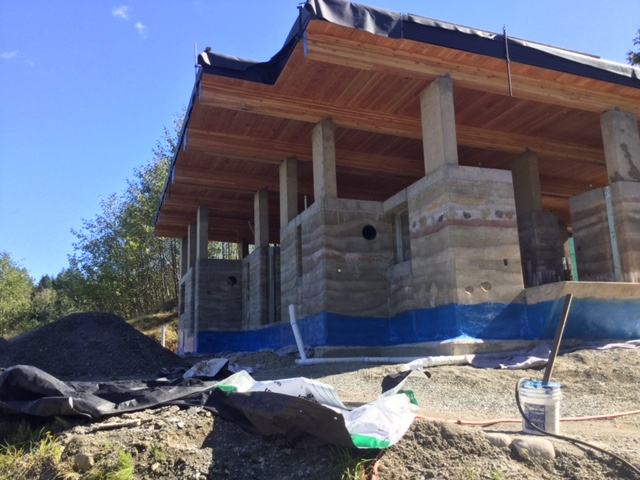
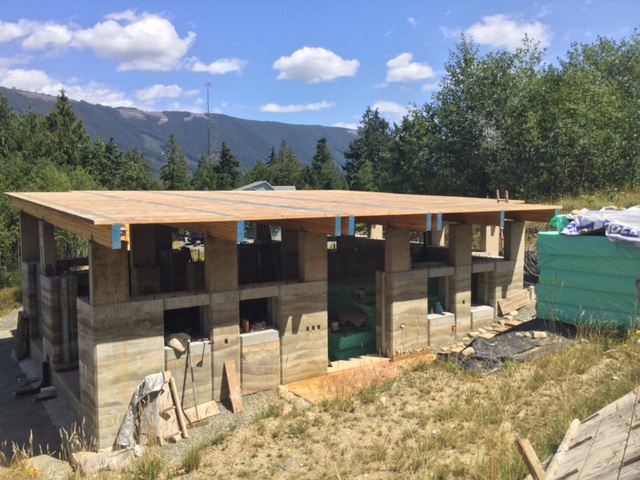
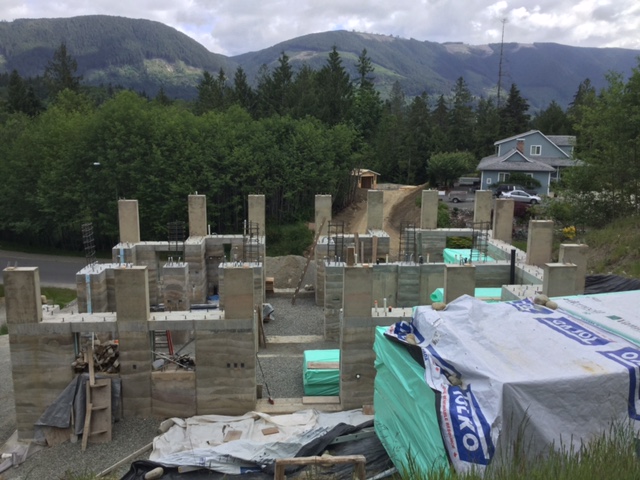
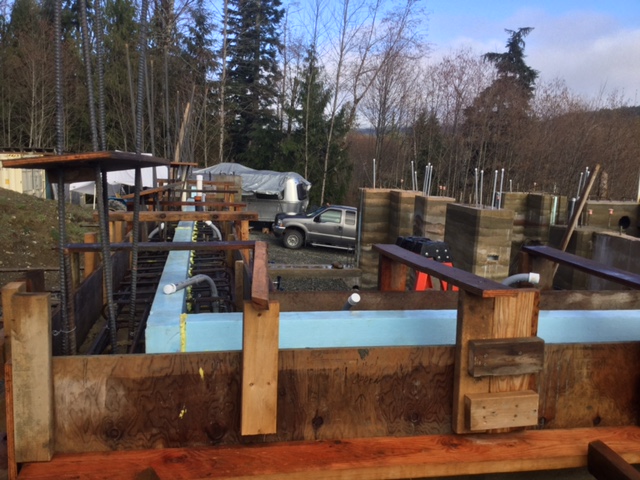
Front of house before windows.

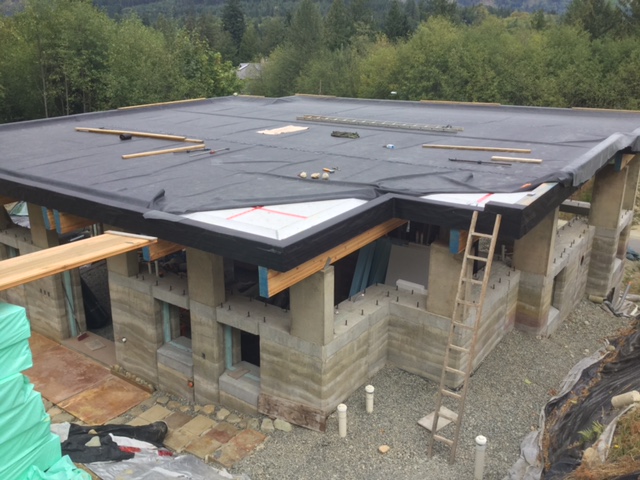
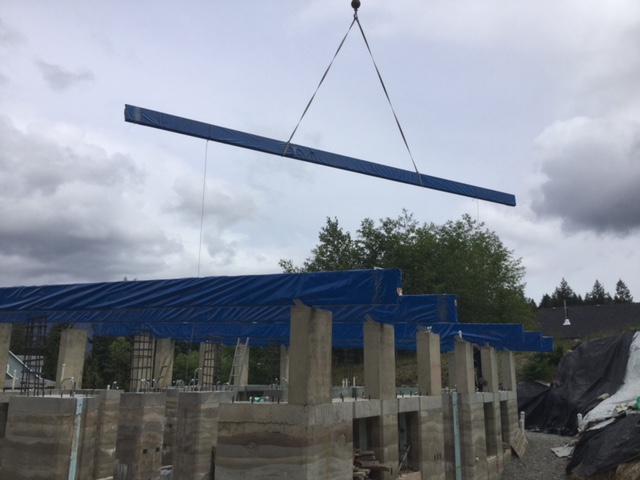
Looks a little spooky with all those tarps and plastic.
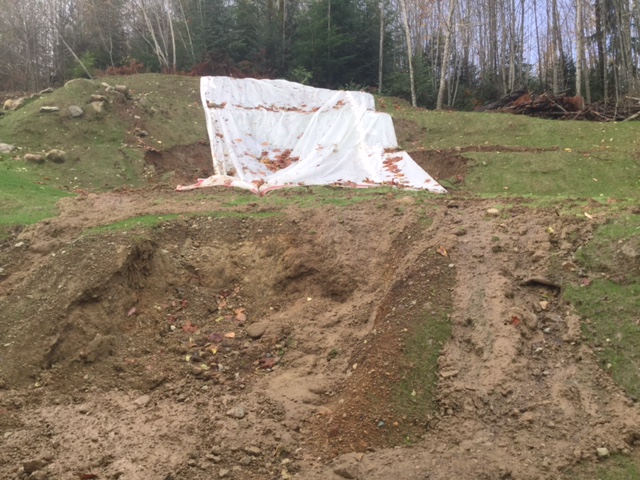
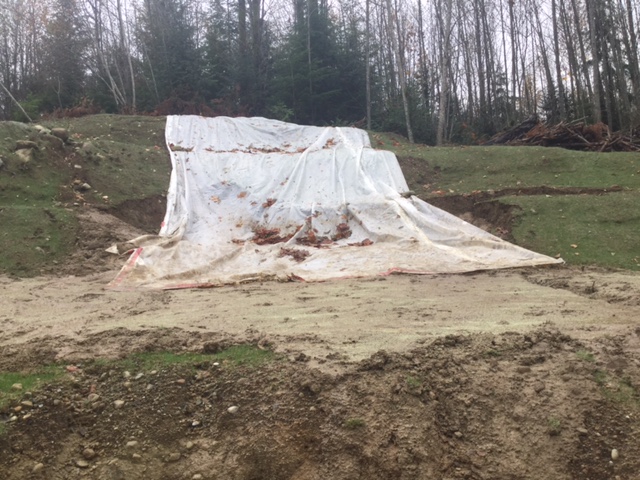
Holes to allow walls to breathe.